Have you heard the name Luminar? Have you tried it? It’s a powerful plugin for Photoshop that is designed to make your life easier. With this plugin, you can create designs with ease.
Luminar is a powerful photo editor with over 900 filters, 27 professional editing tools, and some of the best presets I’ve ever seen. It’s also a great alternative to Lightroom if you’re looking for something powerful but cost-effective. In this post, I’ll show you how to install Luminar as a Photoshop plugin.
Adobe Photoshop is a very powerful photo editing software, however it does come with a few limitations. With the release of Luminar you have access to loads of new features including: filter packs, cloud storage and much more, without having to pay for expensive photo editing plugins.
Luminar Plugin For Photoshop
Luminar is a powerful addition to Adobe Photoshop. To apply Luminar 4 as a filter, follow these steps:
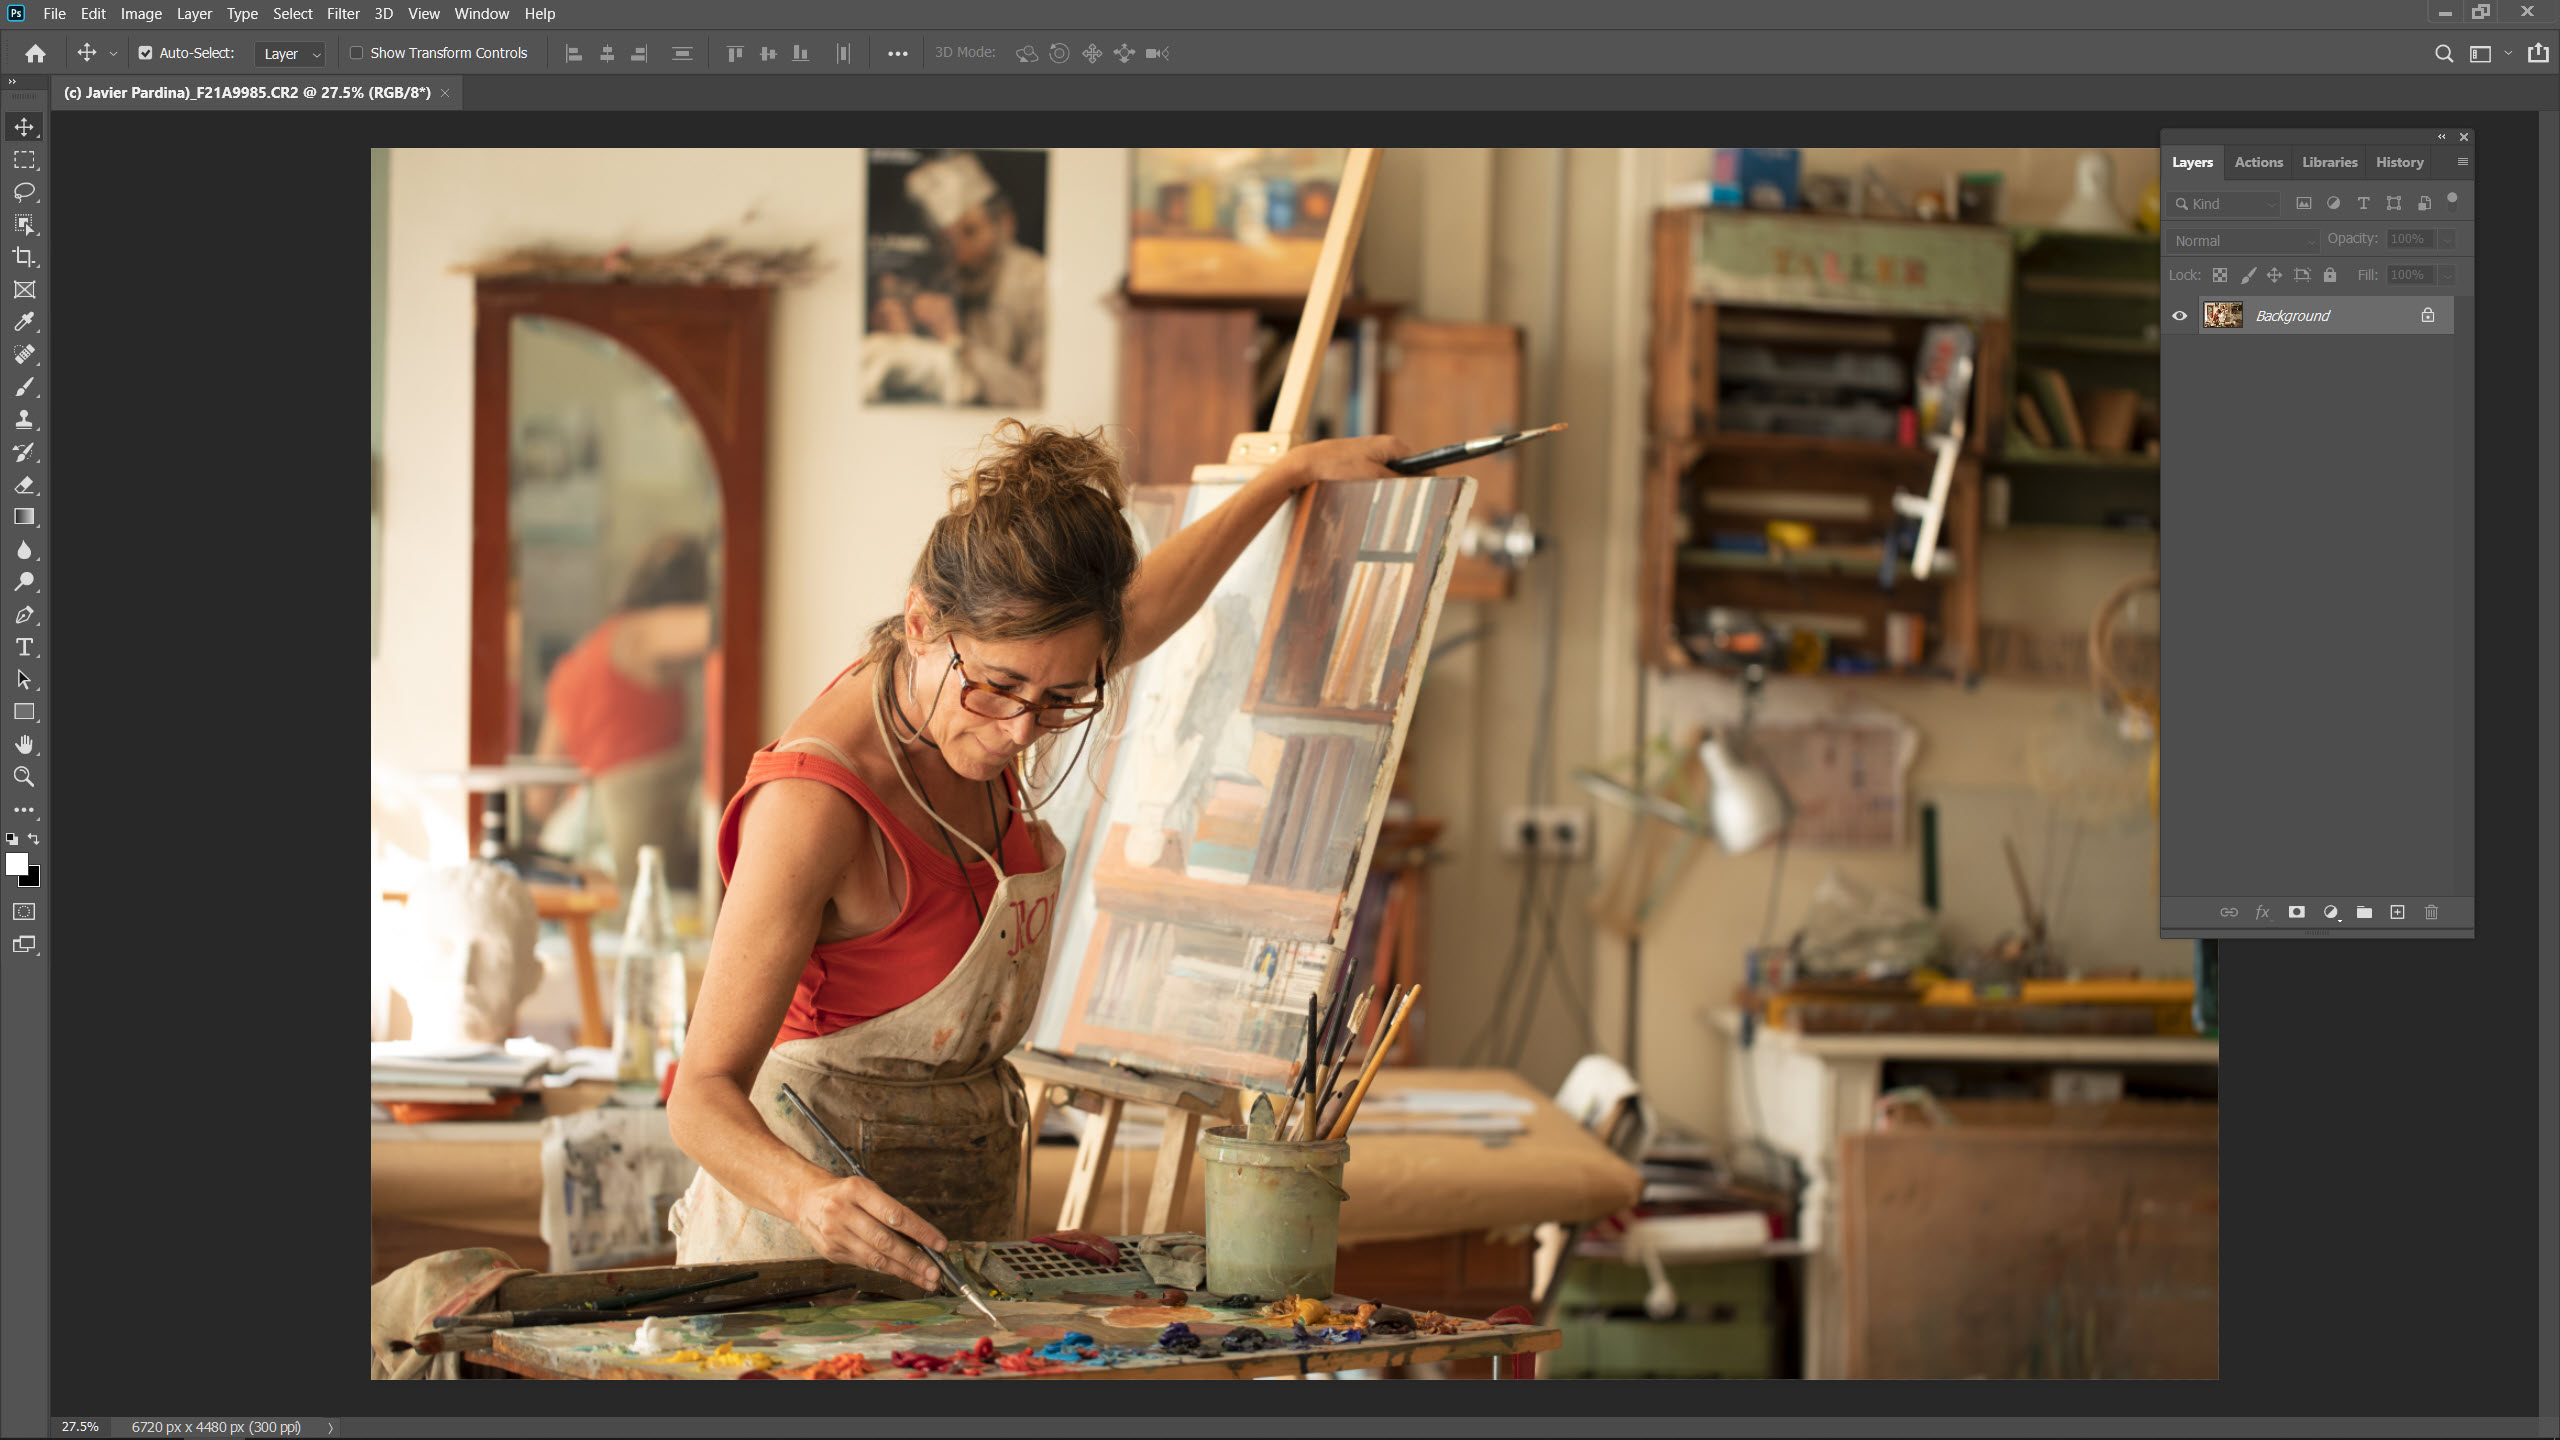
- Make sure Adobe Photoshop is open.
- Open an image you’d like to enhance.
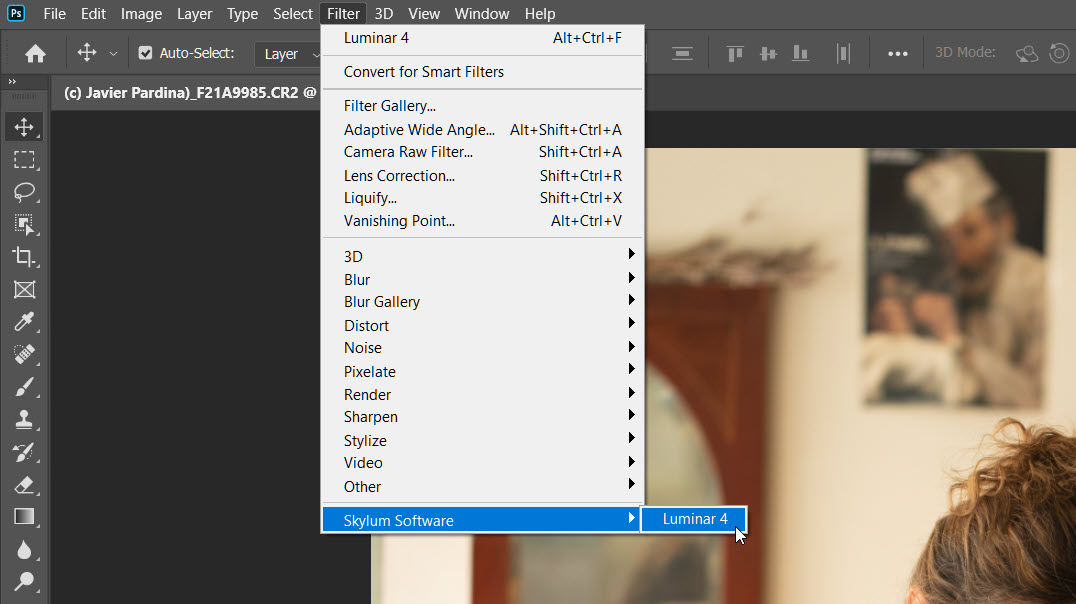
- Choose Filter > Skylum Software > Luminar 4… A new dialog appears to indicate that Luminar is running.
- Luminar should automatically open the image you were editing. If needed, click the Luminar icon in your Dock or Taskbar to switch to Luminar.
- Make any edits or adjustments as needed in Luminar. Use Luminar Looks to speed up your editing workflow.
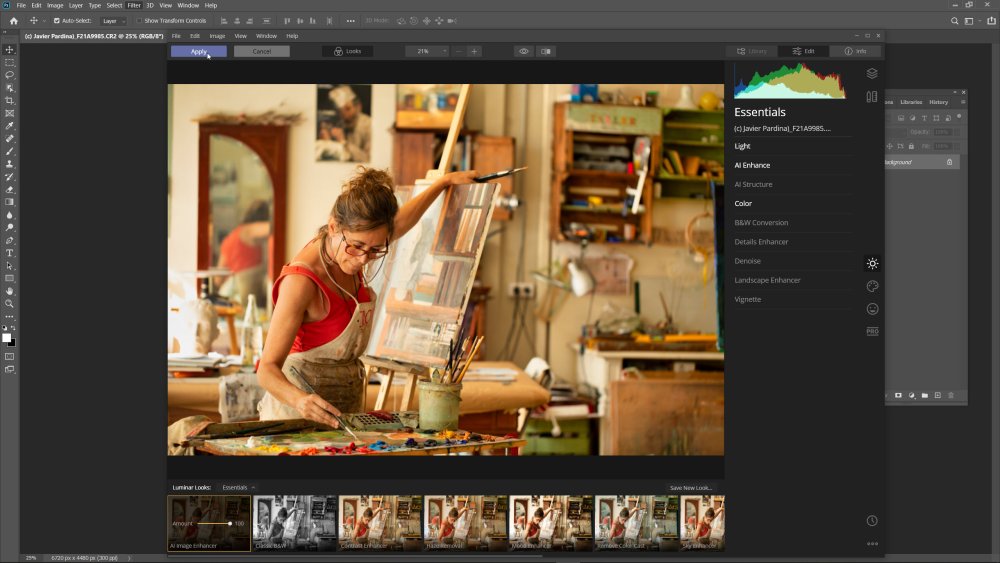
- When done, click the Apply button to send the adjusted image back to Photoshop.
*TIP
Luminar can operate as a Smart Filter in Photoshop. If you designate a Photoshop layer as a Smart Object, then launch the Luminar plug-in as normal to make edits. When you return to Photoshop you can always double-click on the layer and return to Luminar with all edits intact.