Best Luminar Ai Plugin For Photoshop is here to help you. Make popular photo editing app luminar ai easier to use.
You should always check out Luminar Ai, it’s a great photoshop plugin that is fun to use. I recommend that you read this article if you are just getting started with Studio and want to learn more about it. It covers many aspects of Luminar Ai and shows you how to take your photos from point A to point Z.
If you are a Photoshop user, then you must be aware of Luminar AI plugin. The plugin has gained significant popularity in the last few months and we can see why. It has a number of amazing features that have made it one of the best cloud based photo editing software available online. We’ll take a look at how this powerful software can help you create high quality images without getting stuck with complicated workflow in Photoshop.
Luminar Ai Plugin For Photoshop
LuminarAI is a powerful addition to Adobe Photoshop. To apply LuminarAI as a filter, follow these steps:
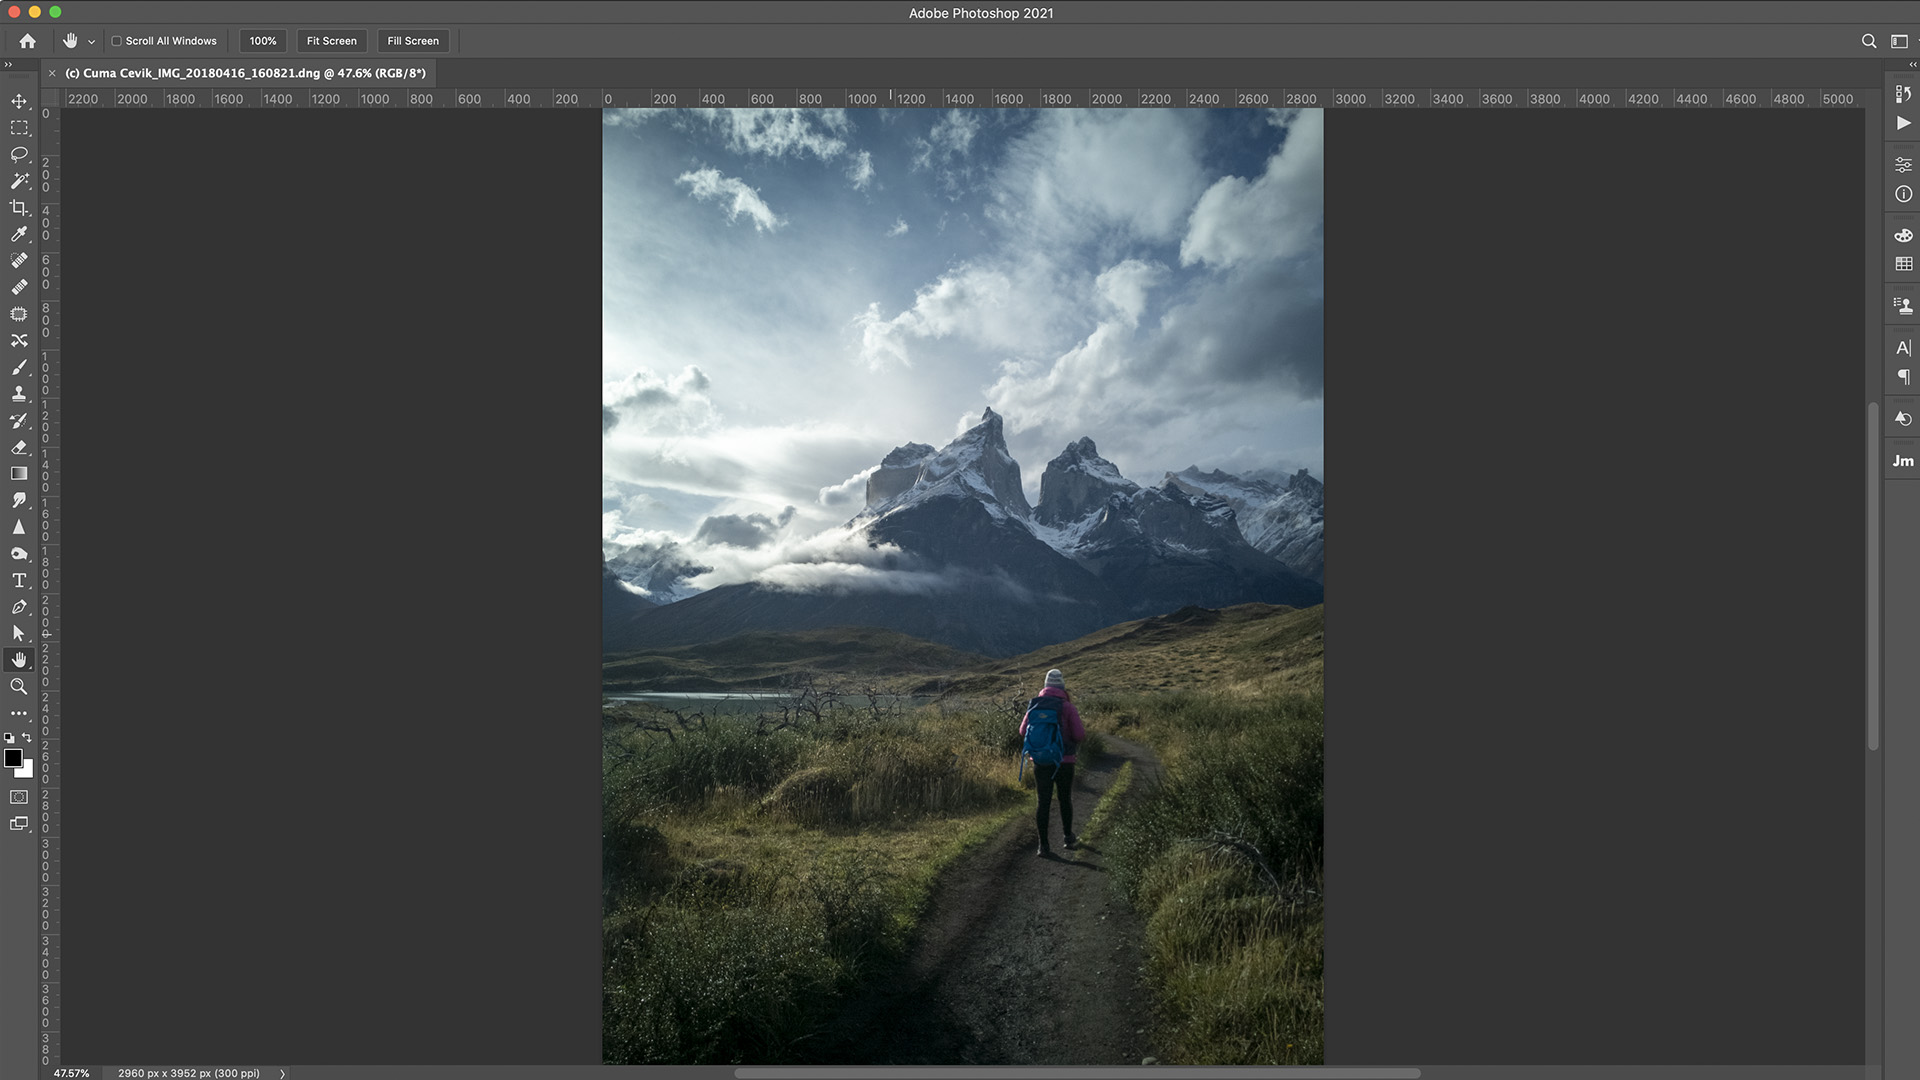
- Open Adobe Photoshop.
- Open an image you’d like to enhance.
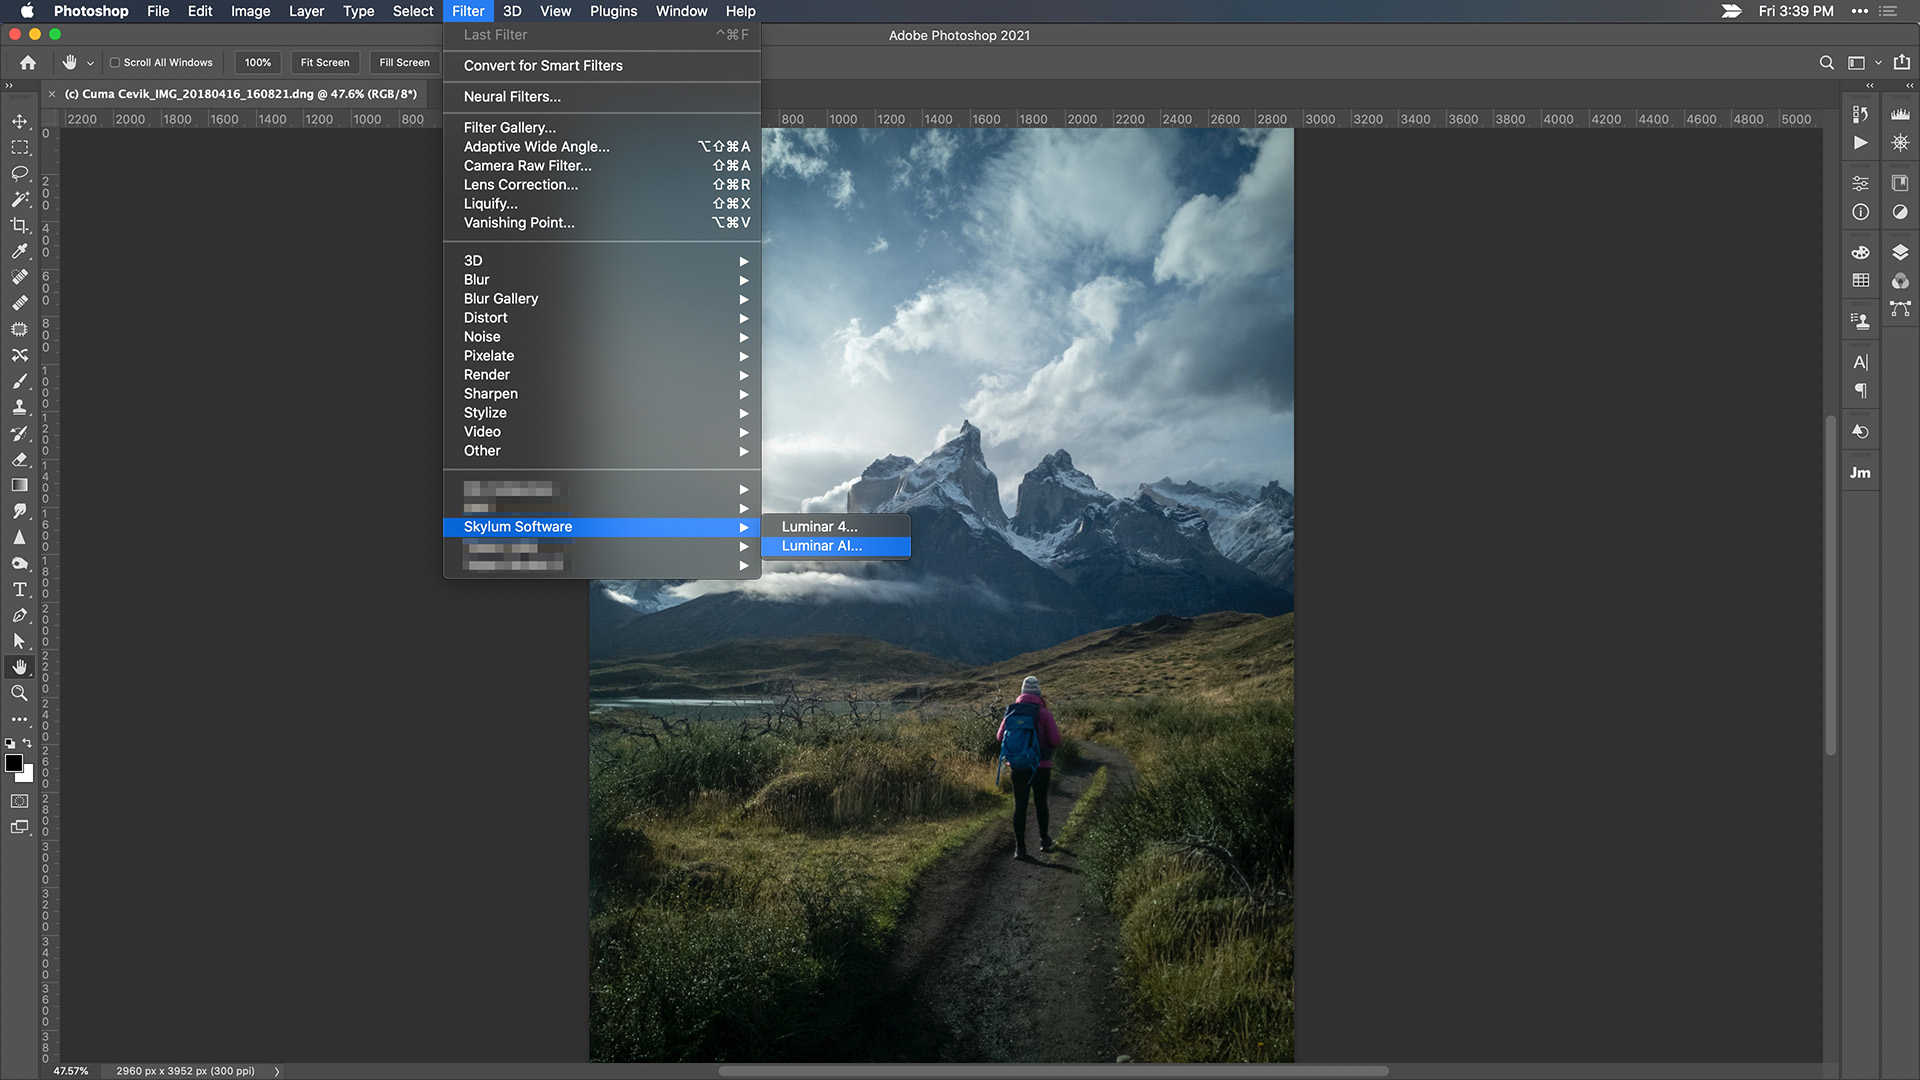
- Choose Filter > Skylum Software > LuminarAI … (a dialog box will appear to indicate that Luminar is running).
- LuminarAI should automatically open the image you were editing. If needed, click the LuminarAI icon in your Dock or Taskbar to switch to it.
- Make any edits or adjustments in LuminarAI and use Templates to speed up your editing workflow.
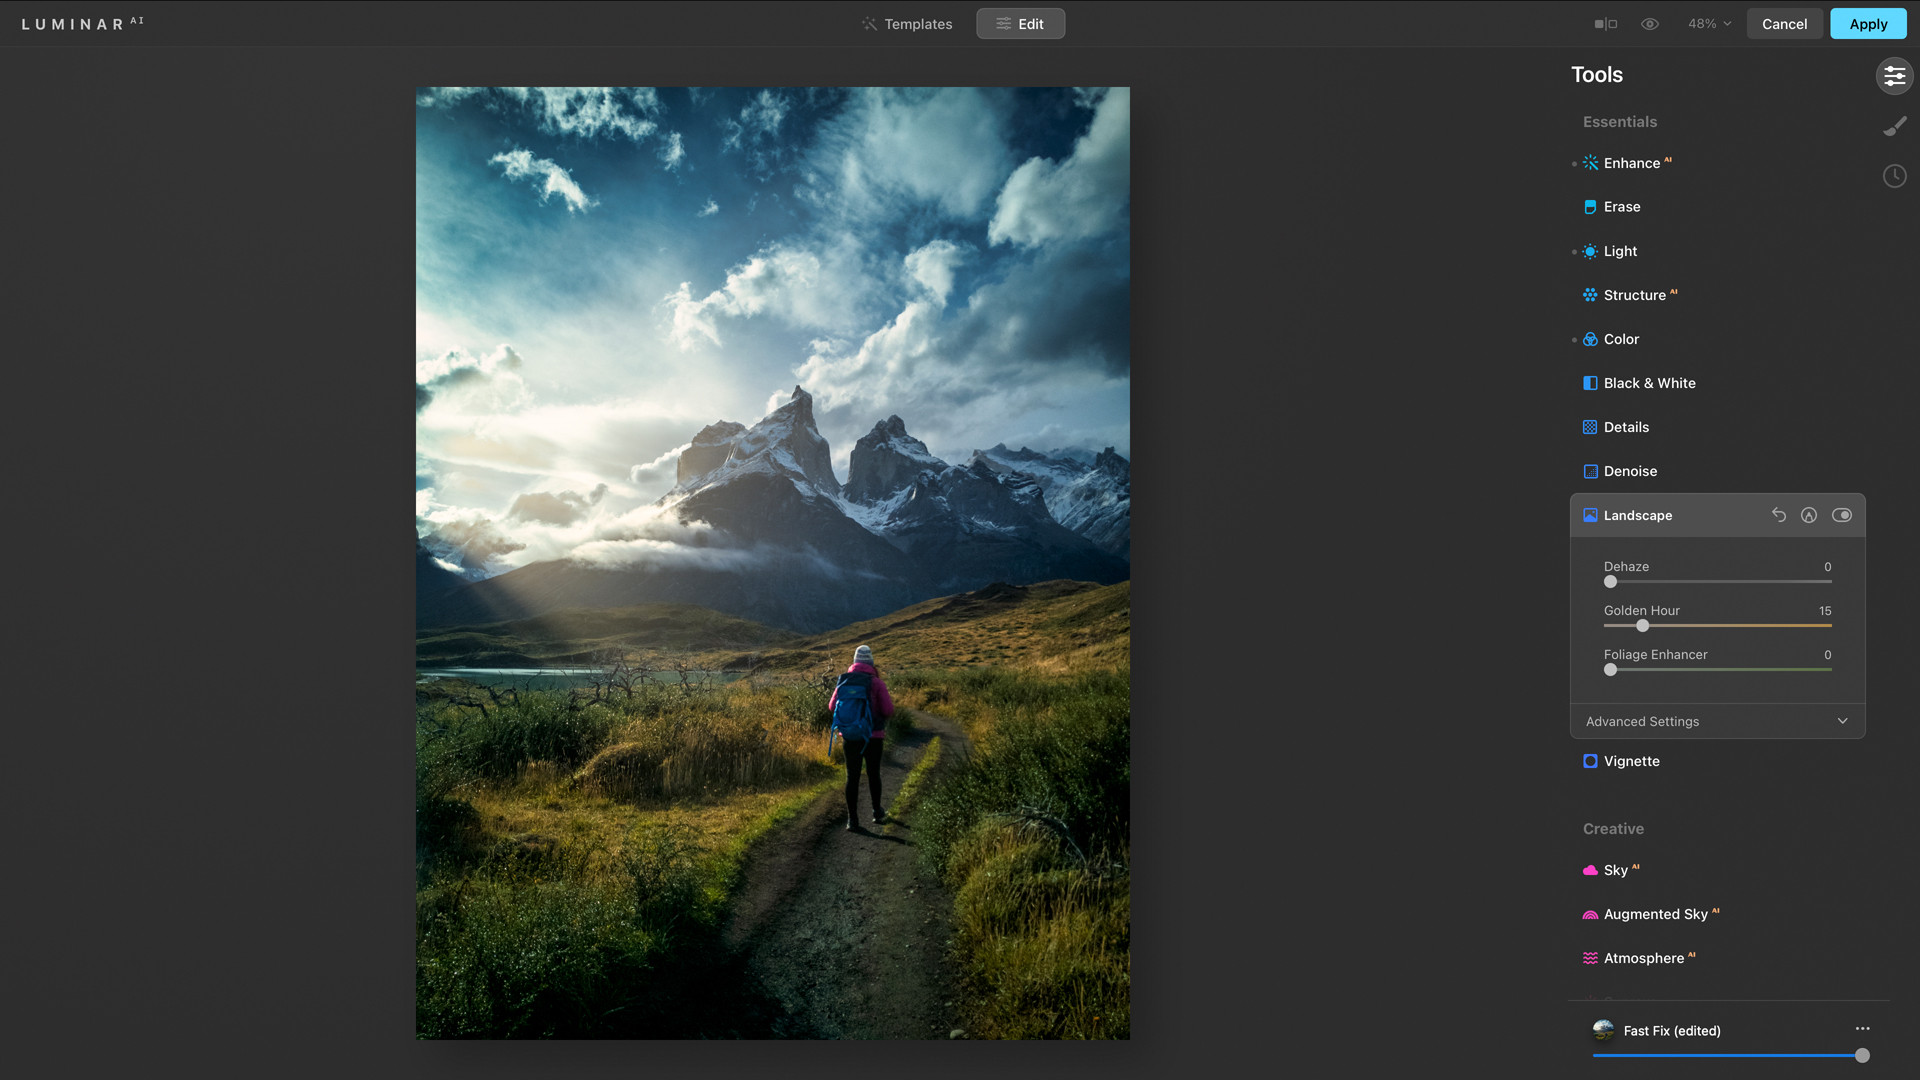
- When done, click the Apply button to send the adjusted image back to Photoshop.
*Tip: LuminarAI can operate as a Smart Filter in Photoshop. If you designate a Photoshop layer as a Smart Object, you can then launch the LuminarAI plugin as normal to make edits. When you return to Photoshop, you can always double-click on the layer and return to LuminarAI with all edits intact.